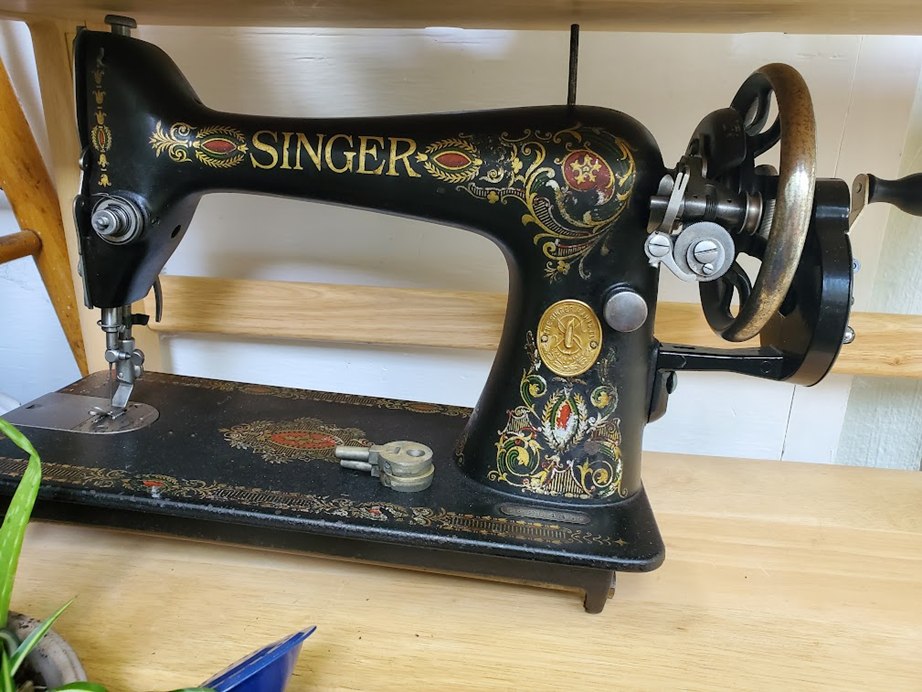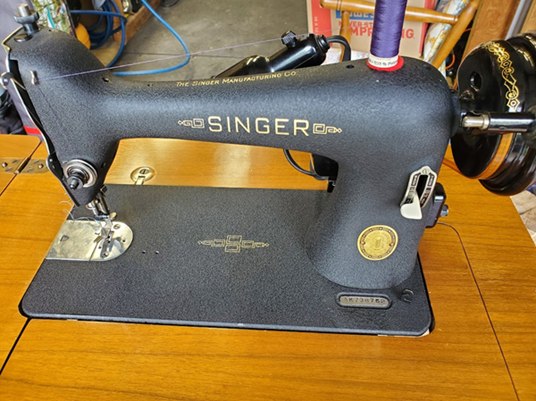
The photographs below illustrate different projects.
Most of my machines come from auctions, bought sight unseen. Sometimes the photographs tell me quite a bit. Sometimes the surprises begin when the machine reaches my bench.
Here is the general process I follow, from the first inspection to the final stitch test. The amount of work varies with the machine, its condition, and what I find along the way.
1. Inspection: What Have I Brought Home?
Before taking anything apart, I want to know what is present, what is missing, and what needs attention.
Does the handwheel turn freely? Is the bobbin case present, where the machine requires a removable one? Does it have its controller? Is the wiring visibly cracked or damaged?
Those first checks help me understand the scope of the project. A dirty but complete machine presents a different job from one with missing parts, damaged wiring, or a mechanism that will barely move.
This is also the starting point for the photographs: the machine as it arrived, including the grime and wear that will disappear—or become more apparent—as I work.
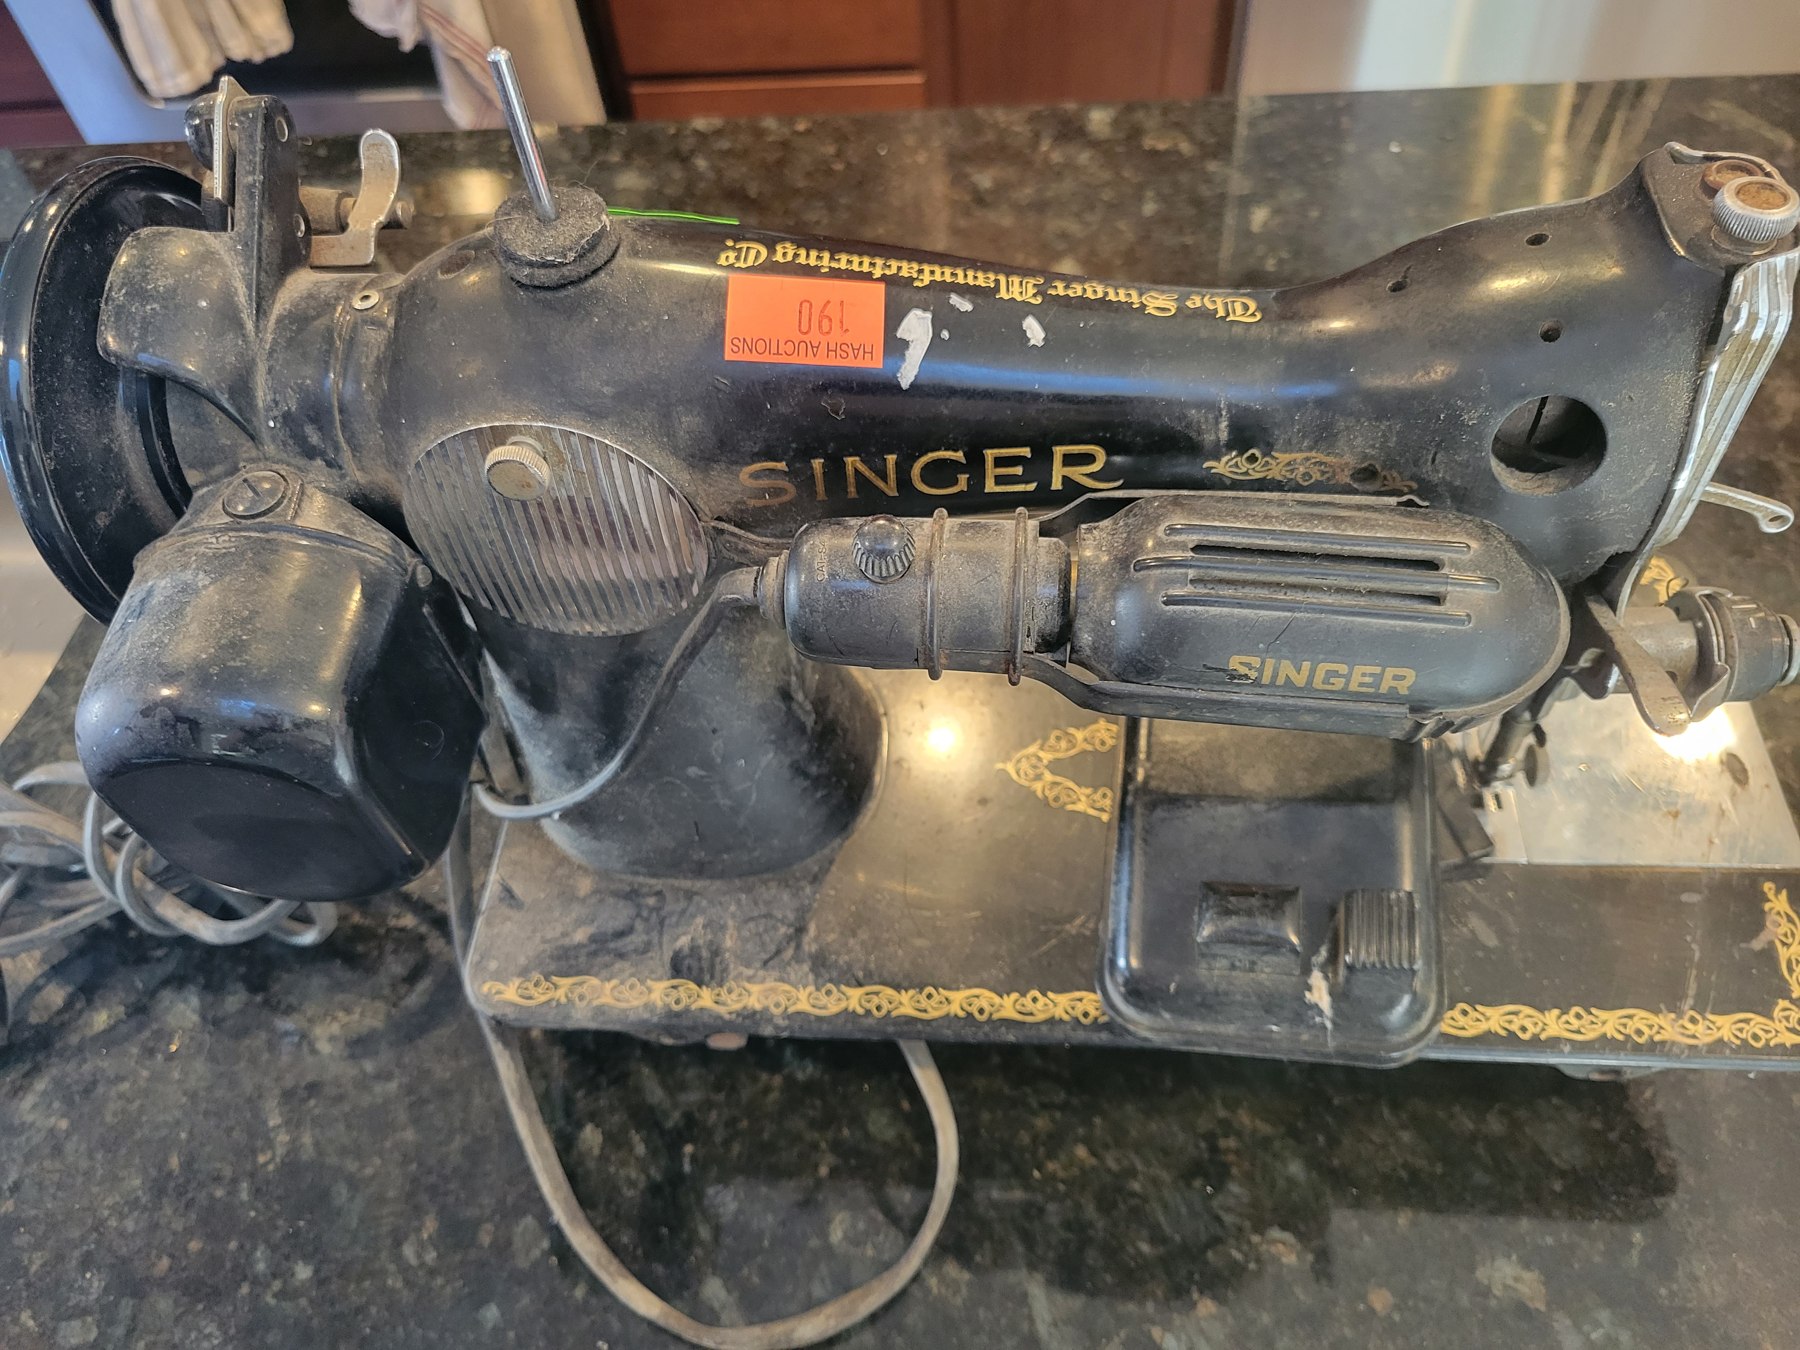
Before refurbishment: assessing a machine as it arrived.
2. Assessing the Motor and Electrical Components
The motor can make a substantial difference to the time and cost of a refurbishment. Replacing or rebuilding one takes a sizeable bite out of the “profits,” so I want to identify that work early.
My original question is simple: is this a straightforward service project, or does it need more extensive electrical work before it can be tested?
Turning freely by hand is useful information, but it does not establish electrical safety. A powered test depends on an appropriate assessment of the wiring, motor, controller, and connections—not just whether the visible cord looks reasonably intact.
A machine with a dead motor will often move toward the back of my queue while I decide how to approach it.
Because of the time commitment and tools required, I will often do motor/wiring repair in batches.
3. Disassembly and Cleaning
This is usually where the largest share of the work happens.
Depending on the machine, I remove the accessible small assemblies: plates and covers, the presser-foot and needle-clamp components, tension assembly, bobbin-winding components, handwheel and clutch, and the relevant bobbin and hook components. The light and motor also come off when needed.
With those parts removed, I can reach the old grease, accumulated lint, and hardened oil that a surface wipe cannot address.
I use an ultrasonic cleaner for suitable small parts and a separate rust-removal treatment where needed. Painted surfaces require a different approach. The finish and its condition determine how I clean them; a method appropriate for a bare metal part may be unsuitable for paint, clear coating, or decals.
The remaining mechanisms get careful attention with brushes and wiping. My photographs often show this stage as a pile of dirty parts followed by the cleaned components laid out for reassembly.
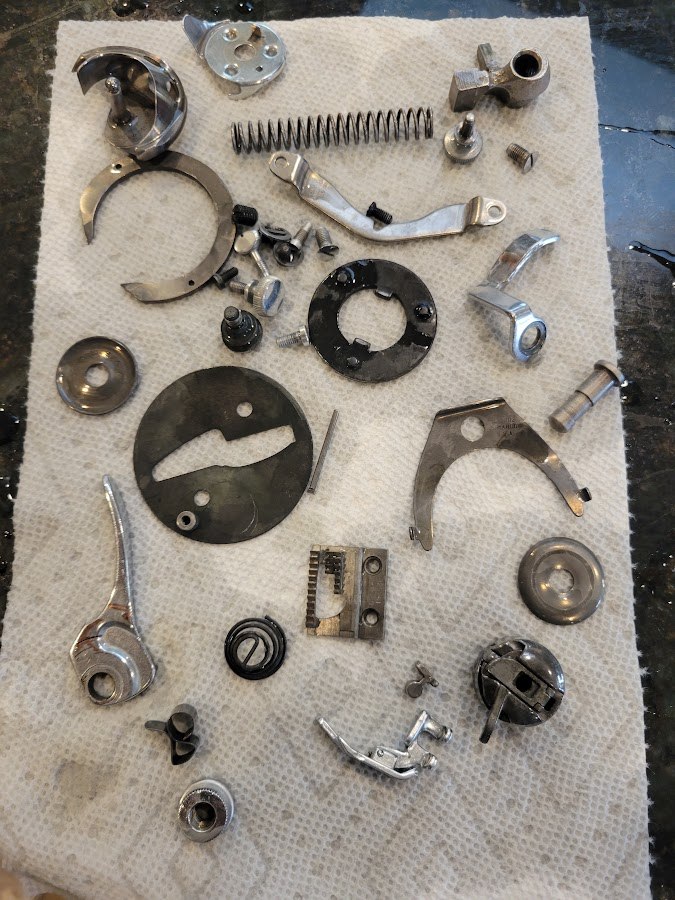
Small components laid out after cleaning, ready for reassembly.
4. Wiring Repairs Where Needed
I inspect the wiring associated with the motor, light, and controller for deterioration and exposed conductors. What needs replacement depends on the condition of the individual machine.
This part of the work is more than making the visible cord look new. Connections, insulation, and the way wiring passes through the machine all matter.
Electrical repair deserves its own discussion rather than a short recipe in a general refurbishment article. Here, it is one of the stages that must be addressed before the machine is ready for normal use.
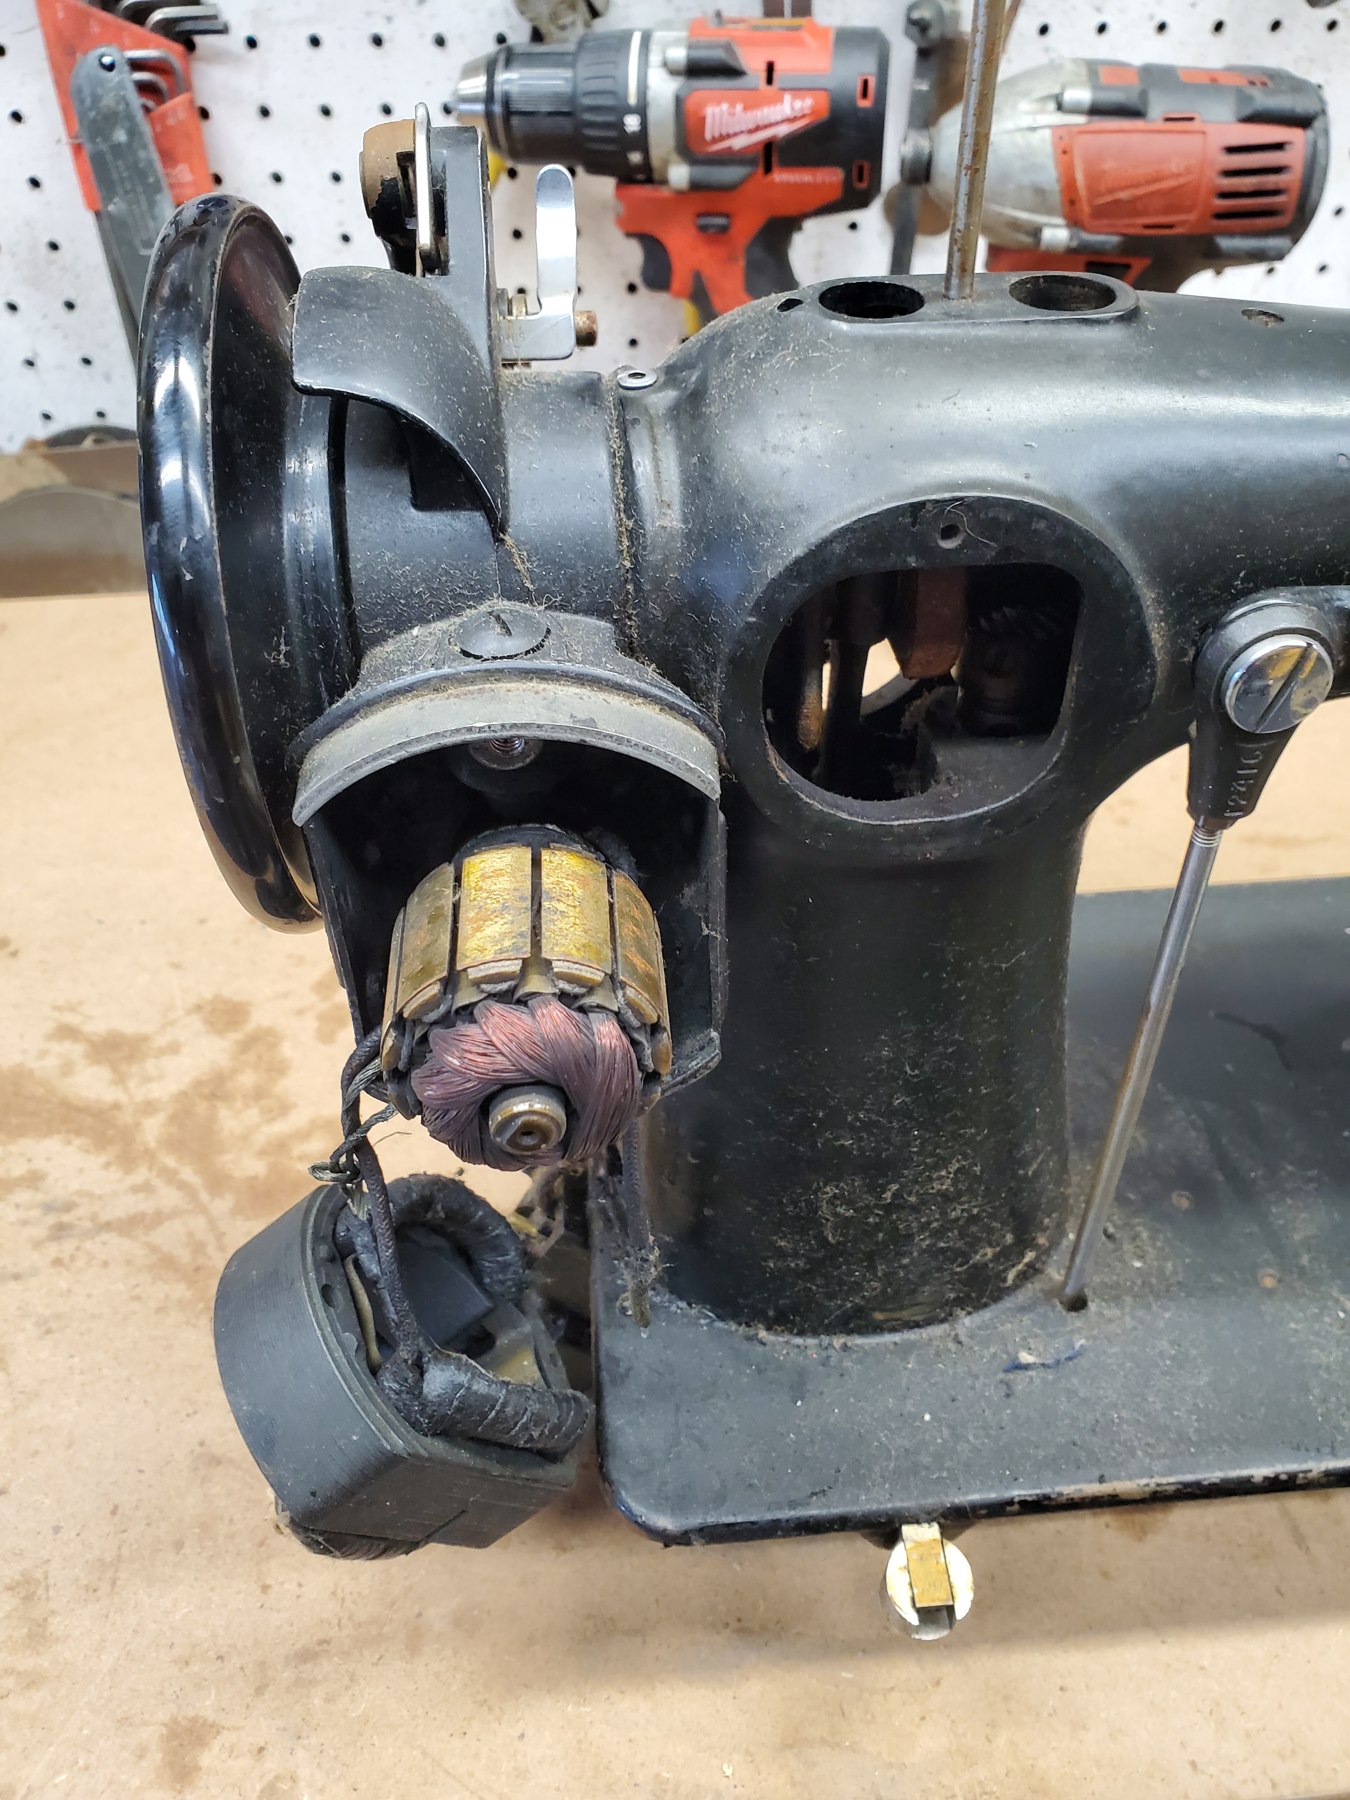
A closer look at a disassembled motor and its wiring.
5. Lubrication and Reassembly
As the machine goes back together, I lubricate it according to the needs of its mechanisms and motor. Sewing-machine oil and grease have different jobs, and the motor design matters when deciding what belongs where.
My usual finishing items include a new needle, fresh spool felt, and an LED bulb where appropriate. I replace the belt when its condition requires it.
Reassembly is also the opportunity to check that the components move freely and that everything removed for cleaning has been returned to its proper position.
6. Stitch Testing and Adjustment
A clean machine still needs to sew.
My usual starting point is a Schmetz size 12 universal needle, Gütermann polyester thread, and two layers of an old, high-thread-count cotton sheet. That gives me a familiar combination for comparing results.
I check the presser-foot height and alignment and adjust the tension assembly so that a setting around 3–4 produces a balanced stitch on that test fabric. That is my baseline, rather than a setting intended for every fabric and thread combination.
I test the available stitch lengths and reverse, where fitted. I also check how freely the mechanism turns by hand. Timing adjustments are occasionally necessary, but they are rarely part of my routine work.
The finished photographs come after that process: the machine assembled, cleaned, adjusted, and ready to sew again.
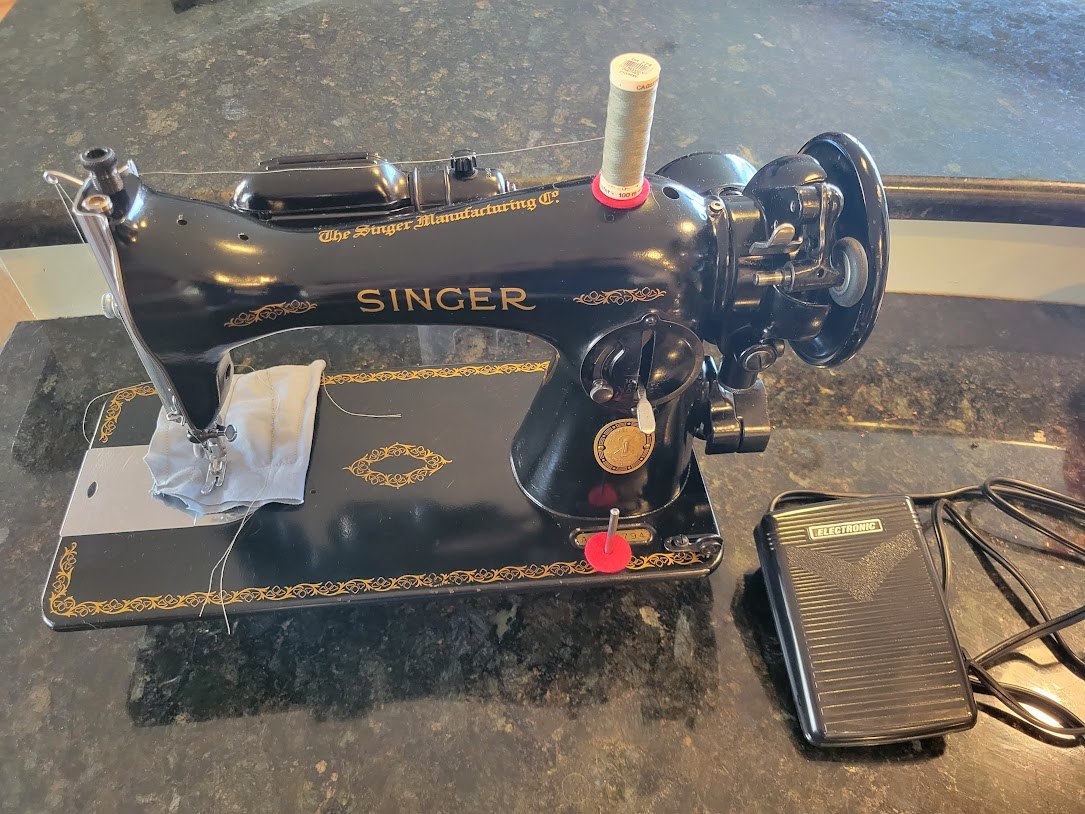
Reassembled and threaded, with test fabric at the needle.
Work Beyond the Routine
Some projects go further. I have also re-shellacked and French-polished finishes, nickel-plated parts, and refinished wooden cabinets.
Those are separate decisions for individual projects, rather than automatic steps in every refurbishment. Each machine gets assessed on its own condition and what I am trying to achieve with it.
Have a machine or a question to share?
Get in touch with Duncan ↗